Showing posts with label jelly bean. Show all posts

How to Root Galaxy S3 on Mac OSX/Linux/Ubuntu! [Jelly Bean] U.S./Canadian

Check Out the Video!

Have a Windows computer? Click here to root any Galaxy S3 on Windows! 

Please DO NOT try this on the international GT-i9300 Galaxy S3!!


This method will ONLY work for U.S. and Canadian Galaxy S3 Variants! That includes T-Mobile SGH-T999, AT&T SGH-i747, Verizon SCH-i535, Sprint SPH-L710, U.S Cellular, and any Canadian Galaxy S3!


This guide will root your Galaxy S3 on any Mac OSX/Linux/Ubuntu computer.

Why would you want to root your tablet?
Rooting will allow you to get full access to your tablet. It gives you "admin" control for everything on your phone so nothing is unrestricted to the user. If you are coming from an Apple product it's like jailbreaking except 100x better!


1. Turn on USB debugging. Go into "Settings" > "Developer Options" > Check Mark "USB debugging". 
If you don't see developer options then go into the "More" tab then "About device" tap on build number about 10 times until it says "You are now a developer" and then go back and you should have USB debugging. 


2. Plug in your phone via microUSB and the other end to the USB port of your computer. 


3. Download the motochopper file using the link below and move it to your desktop!

Download motochopper

4. Open Terminal and type these commands:
Note: Make sure your Mac OSX/Linux computer has a password before typing in these commands!

cd Desktop
cd motochopper
chmod 755 *
sudo sh run.sh 


5. Once the script has started press enter to root your phone and allow USB debugging.


6. When the process has finished press enter again to reboot your phone. 


7. Once your phone has finished rebooting go into your app drawer you should have SuperUser app. You can now install and use root apps! 


To confirm your phone is rooted install an app like Titanium Backup and see if you get SuperUser request. 


FAQ:
Q: My terminal is stuck on "waiting for device", what should I do?
A: Unplug your phone and plug it back in, also make sure you allow USB debugging when it pops up on your phone's screen. 

Q: How can I install ClockworkMod Recovery? 
A: Install ROM Manager app from the Play Store to install ClockworkMod Recovery on your phone without a computer. 

Credits - XDA
-----------------------------------------------------------------------------------------------------------------------------
Need Help With Your Android Device? Follow Me / Add Me / Like Me 
Twitter 
Facebook 
Google Plus
-----------------------------------------------------------------------------------------------------------------------------
Check Out Our YouTube Channel For More Great Guides! 
YouTube and Subscribe
-----------------------------------------------------------------------------------------------------------------------------
Galaxy S3 FAQ 
How to Root Galaxy S3 
How to Install Custom ROMS on Galaxy S3 
Please Check Out The Galaxy S3 FAQ Section Before Commenting!
-----------------------------------------------------------------------------------------------------------------------------

Stock 4.2.2 ROM for Galaxy Nexus! - Pre-Rooted! [GSM/Verizon]


Google has released the latest Android version for the Galaxy Nexus, Android version 4.2.2 Jelly Bean. With this latest release they have added some new features, but nothing major. 

New features include, an estimated time when the app download and installation will be complete, enhanced quick settings for WiFi and Bluetooth, faster animation for the Gallery app, and other small features. 

If you want to get the latest and greatest Android version, without actually having to unroot your phone first, just flash the stock 4.2.2 Jelly Bean ROM that comes pre-rooted using the link below!

Download Links Below!
Download Stock 4.2.2 + Root ROM for Galaxy Nexus GSM
Download Stock 4.2.2 + Root ROM for Galaxy Nexus Verizon


Credits - GSM & Verizon
-----------------------------------------------------------------------------------------------------------------------------
Need Help or add/follow me?
-----------------------------------------------------------------------------------------------------------------------------
FOR EMERGENCIES: (Bricked phone, not turning on, ect) 
-----------------------------------------------------------------------------------------------------------------------------
Don't forget check out my YouTube channel and subscribe for more great videos!
-----------------------------------------------------------------------------------------------------------------------------
Please check out the FAQ before asking questions!

How to Unroot Nexus 4 to Stock 4.2 Jelly Bean on Windows!


Have a Mac? Click Here

This guide will show you how to unroot your Nexus 4 back to stock 4.2 Jelly Bean. This guide will also make it safe enough for you to send back to Google without them even knowing you ever rooted/installed ClockworkMod Recovery on your phone EVER! 


BACKUP your phone! This will do a factory reset on your phone! 


1. Power off your phone. 


2. Enter your phone into Bootloader Mode. Press the volume up, volume down, and power button all at the same time. When your phone vibrates let go of the power button, but keep holding onto the volume up and down button. 


3. Plug in your phone via microUSB.


4. Download and extract 4.2UnrootNexus4.zip using the link below.


Download 4.2UnrootNexus4.zip

5. Move the folder to your desktop. 


6. Download and install Samsung USB Drivers
Go to "Device Manager" on your Windows computer and find "Android Bootloader Interface" if you see that don't please watch the video tutorials located at the top of the article to find out how. 


7. Open Command Prompt and type: 

cd Desktop
cd 4.2UnrootNexus4.zip
fastboot flash bootloader bootloader-mako-makoz10l.img
fastboot reboot-bootloader
fastboot flash radio radio-mako-m9615a-cefwmazm-2.0.1700.33.img
fastboot reboot-bootloader
fastboot -w update
image-occam-jop40c.zip


8. After that 5 minute process your phone will automatically reboot, but it might get stuck on the "X" boot animation. 


9. Unplug your phone and keep holding the power button until your phone turns off. Right after, press the volume up, volume down, and power button all at the same time. When your phone vibrates let go of the power button, but keep holding onto the volume up and down button. 


10. Press the volume up 2x and power button to enter into stock Recovery. 


11. You will now see a "dead Android". Keep pressing the volume up, volume down, and power button all at the same time until you see stock "Recovery", shown in the image below.


12. Once you entered into stock "Recovery" select "wipe data/factory reset" and choose "yes". 


13. Choose "reboot system now". 


14. Your phone will now boot up and you are unrooted. But, if you are planning on sending your phone back to Google we need to lock the bootloader. 


15. Make sure your phone is unplugged then, enter your phone into Bootloader Mode. Press the volume up, volume down, and power button all at the same time. When your phone vibrates let go of the power button, but keep holding onto the volume up and down button. 


16.  Plug your phone back in via microUSB. 


17. Go back to Command Prompt and type: 
fastboot oem lock


18. Now your bootloader is lock and safe to send back to Google. Just press the power button to boot your phone back into normal phone state. 


Credits - Stock Images
-----------------------------------------------------------------------------------------------------------------------------
Need Help or add/follow me?
-----------------------------------------------------------------------------------------------------------------------------
FOR EMERGENCIES: (Bricked phone, not turning on, ect) 
-----------------------------------------------------------------------------------------------------------------------------
Don't forget check out my YouTube channel and subscribe for more great videos!
-----------------------------------------------------------------------------------------------------------------------------
Please check out the FAQ before asking questions!

How to Get Free WiFi Tether/HotSpot on Samsung Galaxy S3 Jelly Bean!


Note: I am not responsible if you get charged by your carrier for using this method of getting free wifi tethering! You have been warned!

This guide will show you how to get free wifi tethering/hotspot on your Samsung Galaxy S3 that is running on Jelly Bean and a TouchWiz based ROM. 

You MUST be rooted - Click here to root your Galaxy S3. 

If your Galaxy S3 is running on Ice Cream Sandwich, use this guide here

Download the WiFi Tether APK here

1. Download the apk directly to your phone. 

2. Open any file manager app and locate the apk. By default it will be located under "Downloads" folder. 

3. Tap on the apk and install it. If you get a security issue going into Settings > Security and check mark "Unknown Source". 

4. Go into the app > Settings > Device-Profile and then select Galaxy S3. 

5. Turn on WiFi tether and start enjoying!

Credits - XDA
-----------------------------------------------------------------------------------------------------------------------------
Need Help or add/follow me?
-----------------------------------------------------------------------------------------------------------------------------
FOR EMERGENCIES: (Bricked phone, not turning on, ect) 
-----------------------------------------------------------------------------------------------------------------------------
Don't forget check out my YouTube channel and subscribe for more great videos!
-----------------------------------------------------------------------------------------------------------------------------
Please check out the FAQ before asking questions!

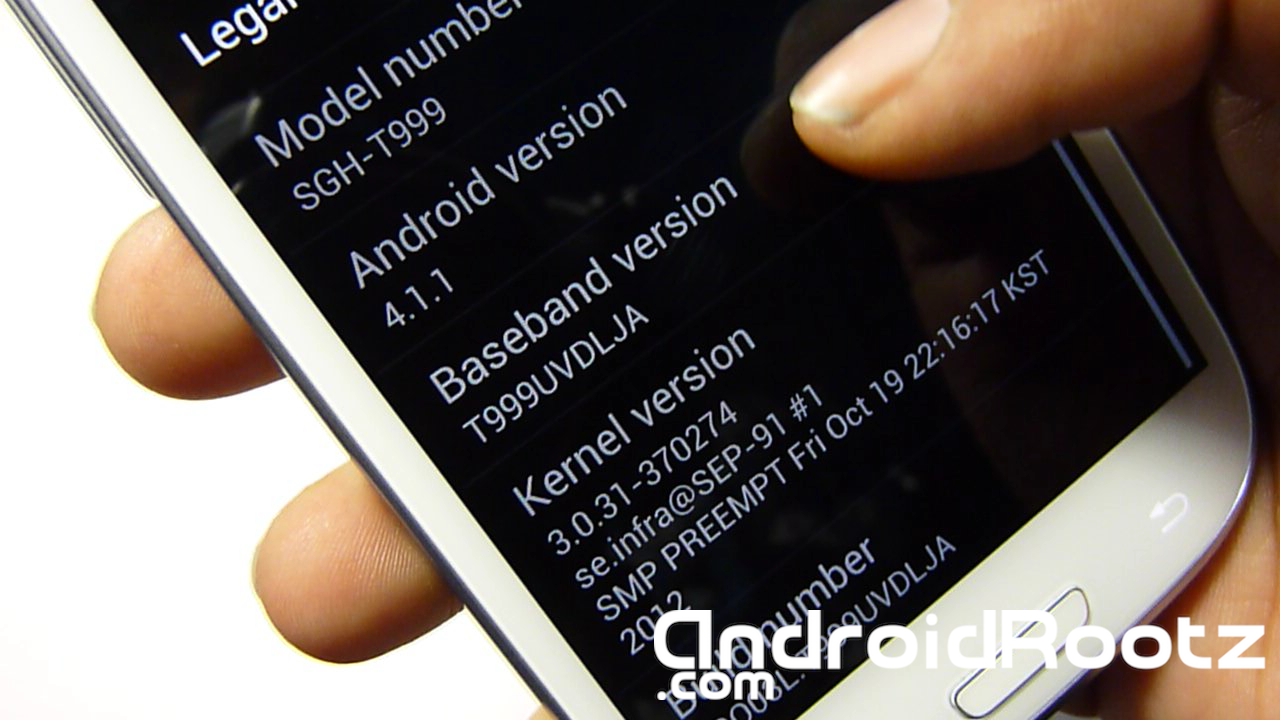
How to Install Stock 4.1.1 Jelly Bean ROM on Galaxy S3 T-Mobile SGH-T999!


This method will just install a stock 4.1.1 Jelly Bean ROM on your Galaxy S3 T-Mobile. This will NOT unroot your phone! 

If you already have ClockworkMod installed on your Galaxy S3 T-Mobile this is the best method to get the full 4.1.1 Jelly Bean stock ROM, and it's pre-rooted!


You MUST already have ClockworkMod Recovery already installed on your Galaxy S3.
Click here on how to install ClockworkMod on Windows.
Click here on how to install ClockworkMod on Mac/No computer.

1. Download Deodexed_T999UVDLJA.zip using the link below. 

Download Deodexed T999UVDLJA.zip


2. Enter your phone into ClockworkMod Recovery mode. Power off your phone. 


3. Press the volume up, home center button, and power button all at the same time. 


4. When the phone vibrates let go of the power but keep holding onto the volume up and home center button until you enter into ClockworkMod Recovery mode. 


5. Select "wipe data/factory reset" and choose "yes". 
Note: This will wipe all your apps, settings, etc on your internal memory so make sure you backup your phone! 


6. Select "wipe cache partiiton" and choose "yes". 


7. Next, choose "advanced". 


8. Select "wipe dalvik cache and choose "yes". 


9. Choose "+++++Go Back+++++".


10. Then, "install zip from sd card", after that select "choose zip from sd card".


11. Find "Deodexed_T999UVDLJA.zip" and select "yes".


12. Go back and "reboot system now".

 
13. Once your phone has finished booting up you will be on stock 4.1.1 Jelly Bean ROM for your Galaxy S3 T-Mobile. 


Credits - XDA

-----------------------------------------------------------------------------------------------------------------------------
Need Help or add/follow me?
-----------------------------------------------------------------------------------------------------------------------------
FOR EMERGENCIES: (Bricked phone, not turning on, ect) 
-----------------------------------------------------------------------------------------------------------------------------
Don't forget check out my YouTube channel and subscribe for more great videos!
-----------------------------------------------------------------------------------------------------------------------------
Please check out the FAQ before asking questions!

How to Unroot/Install Official 4.1.1 Jelly Bean on Galaxy S3 SGH-T999 T-Mobile!


What will unrooting my Samsung Galaxy S3 do to my phone? If you follow this process step by step it will completely restore your phone back to 100% complete stock 4.1.1 Jelly Bean, just like the day you bought your phone. It's also safe enough to send back to Samsung without Samsung knowing you ever installed ClockworkMod Recovery or rooted your phone. 

This will delete everything from your internal sd card (internal memory) on your Galaxy S3! BACKUP your photos, contacts...ect! 

If you were rooted and are planning on sending your Galaxy S3 back to your carrier/manufacture reset your flash counter first! Click here to learn how to! 


1. Enter your phone into "Download Mode". Make sure your phone is unplugged and turned off.


2. Hold the volume down, home center, and power button at the same time. When you feel a vibration let go of the power, but keep holding onto the volume down and home button.


3. Press the volume up to continue.


4. Plug your phone via microUSB to your computer.


5. Download and extract Unroot/ Install Stock 4.1.1 JB on Galaxy S3 T-Mobile.zip below


Download Unroot/ Install Stock 4.1.1 JB on Galaxy S3 T-Mobile.zip 


6. Open Odin3 v1.85. 


7. In Odin you should see a yellow highlighted box on the left of the program. If you don't download and install Samsung Kies.


8. Click on "PDA" and locate the tar file that was extracted.


9. Click on "Start". This process will take about ten minutes. Once it finishes rebooting you will be on stock 4.1.1 Jelly Bean. 


10. If you get any errors or get stuck on bootlooop do a factory reset in stock recovery.


11. Power off your phone, then press the volume up, home center, and power button. Hold all three at the same time, when you feel a vibration let go of the power, but keep holding the volume up and center home button.


12. Select "Wipe Data / Factory Reset" and select "yes".


13. Select "Wipe Cache Partition".


14. Select "reboot system now" and your now on 100% stock and unrooted.


FAQ:

Q: The yellow COM bar isn't showing up on my "Odin" application, what do I do?
A: Download and install Samsung Kies on your computer, make sure your using the original Samsung microUSB cable, try a different USB port. 

Q: I keep getting a red "Fail" on my Odin screen, how do I fix this? 

A: Restart your computer, use a different USB port, and use a different USB cable. 

Q: Is this method safe enough that I can give this back to my manufacture / carrier?

A: Yes, this method will completely unroot your phone and remove any traces of you rooting your phone, just make sure you reset your flash counter mentioned at the top of the article. 

Credits - Samfirmware

-----------------------------------------------------------------------------------------------------------------------------


Need Help or add/follow me?
-----------------------------------------------------------------------------------------------------------------------------
FOR EMERGENCIES: (Bricked phone, not turning on, ect) 
-----------------------------------------------------------------------------------------------------------------------------
Don't forget check out my YouTube channel and subscribe for more great videos!
-----------------------------------------------------------------------------------------------------------------------------
Please check out the FAQ before asking questions!